TELESCOPE CONTROL COMPUTER START-UP AND INITIALIZATION
The telescope is controlled by a Dell computer that is dedicated solely to that purpose. It runs on DOS 6.2.2 (yes, really) which causes less conflict with PC-TCS, the telescope control software. More details of working in the DOS and TCS environment are on the TELESCOPE OPERATION page.
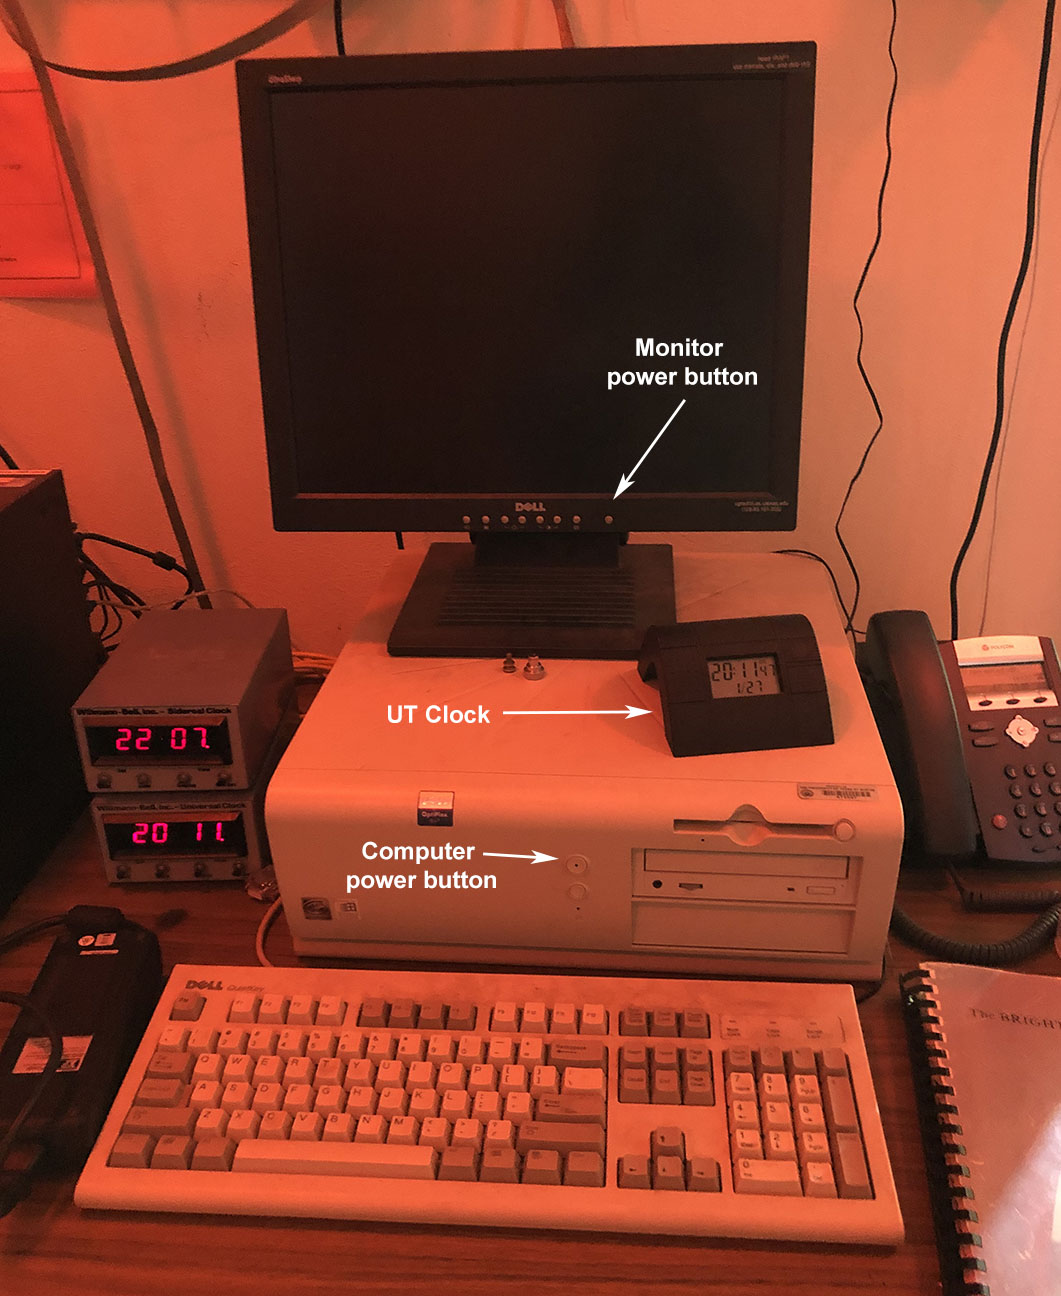
1. Turn on the computer and monitor in the control room (fig. 1).
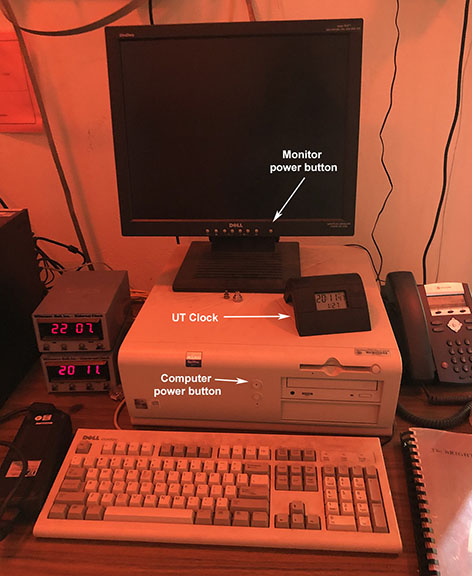 fig. 1
2. The computer is set up to automatically start the TCS program. (If it doesn't start the program, type cd tcs at the DOS prompt to change to the right directory. Then type tcs to start the program.)
3. THIS STEP IS VERY IMPORTANT The computer's internal clock doesn’t keep good time, so it needs to be reset at the beginning of each observing session or the pointing will be inaccurate. We have a UT clock (usually around or on the computer, visible in fig. 1) that syncs via radio with the US Atomic Clock in Boulder, Colorado.
The clock should display the time in Universal Time, which is either 5 or 6 hours ahead of the local time in Austin (5 when we're on Daylight Saving time, 6 on Standard time).
Use the arrow keys on the computer keyboard to highlight the Time menu at the bottom of the TCS screen and press enter. This will pop up a submenu which will have options for resetting the time. Use the down arrow to choose UT Time and hit enter. This will pop up a window where you can enter a new UT Time. Make sure you enter any place-holding zeros, e.g. if the UT clock reads 01:17:20, be sure to type in the first and last zeros. The best way to get the clock accurate to the second is to type in a number a few seconds ahead of the current time and then wait for the UTC clock to show that exact time, then hit enter.
Once the time is correct, you are ready to begin choosing objects to observe.
Note - if you are using the CCD, you can control the telescope from the CCD software. If you are just using eyepieces, continue to the next page for instructions on how to operate the telescope.